Open the Greenbox Mobility App on your smartphone.
2
From the menu tab “Charging Station”, find the correct charging station at your location. You can also find a list of other available charging stations at the bottom right “list” button in green.
3
Park your car on the designated parking spot in front of the available EV charging station.
4
Connect the charging connector to your vehicle.
5
Select the correct charging station by scanning the QR code on the station to identify the correct charger number. This number is also displayed underneath the QR code. To scan, use the menu point QR-code scanner option on the app.
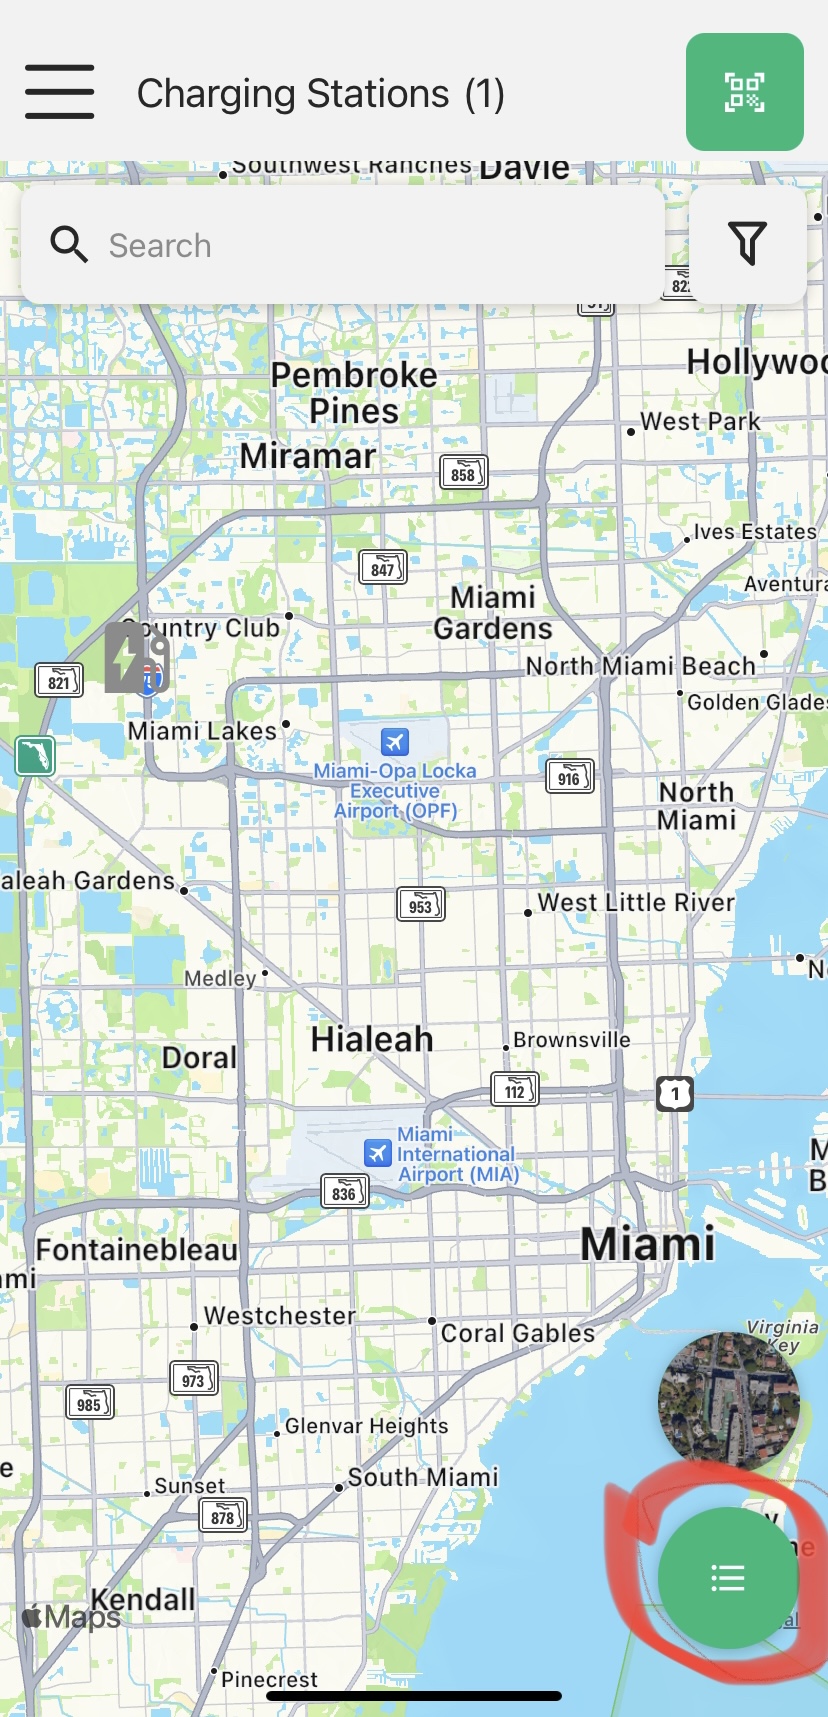
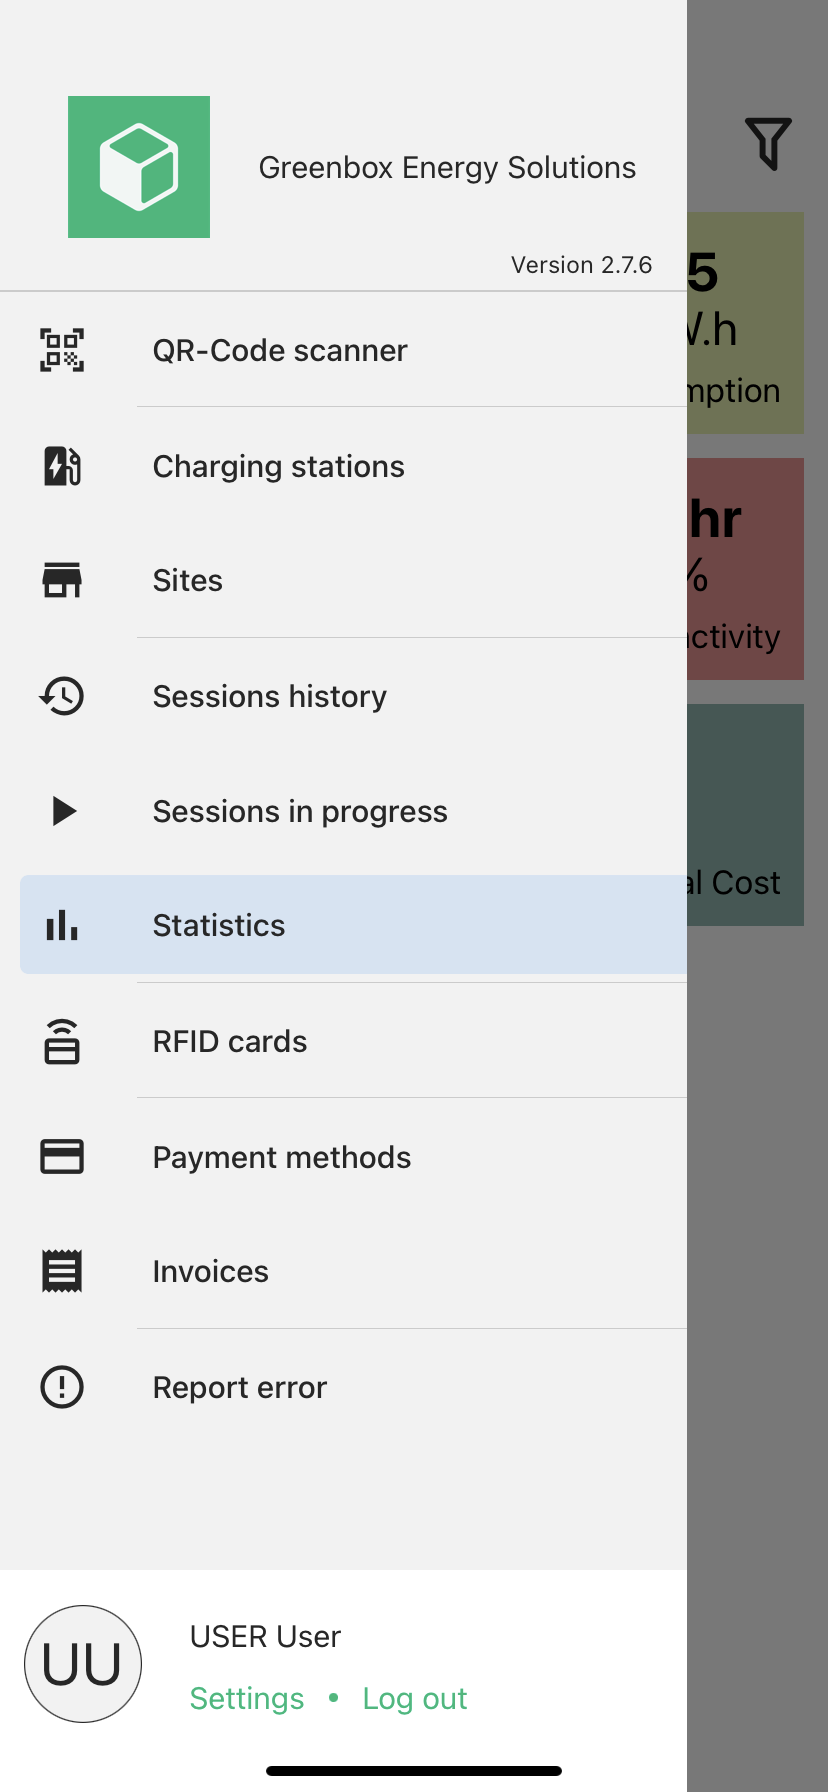
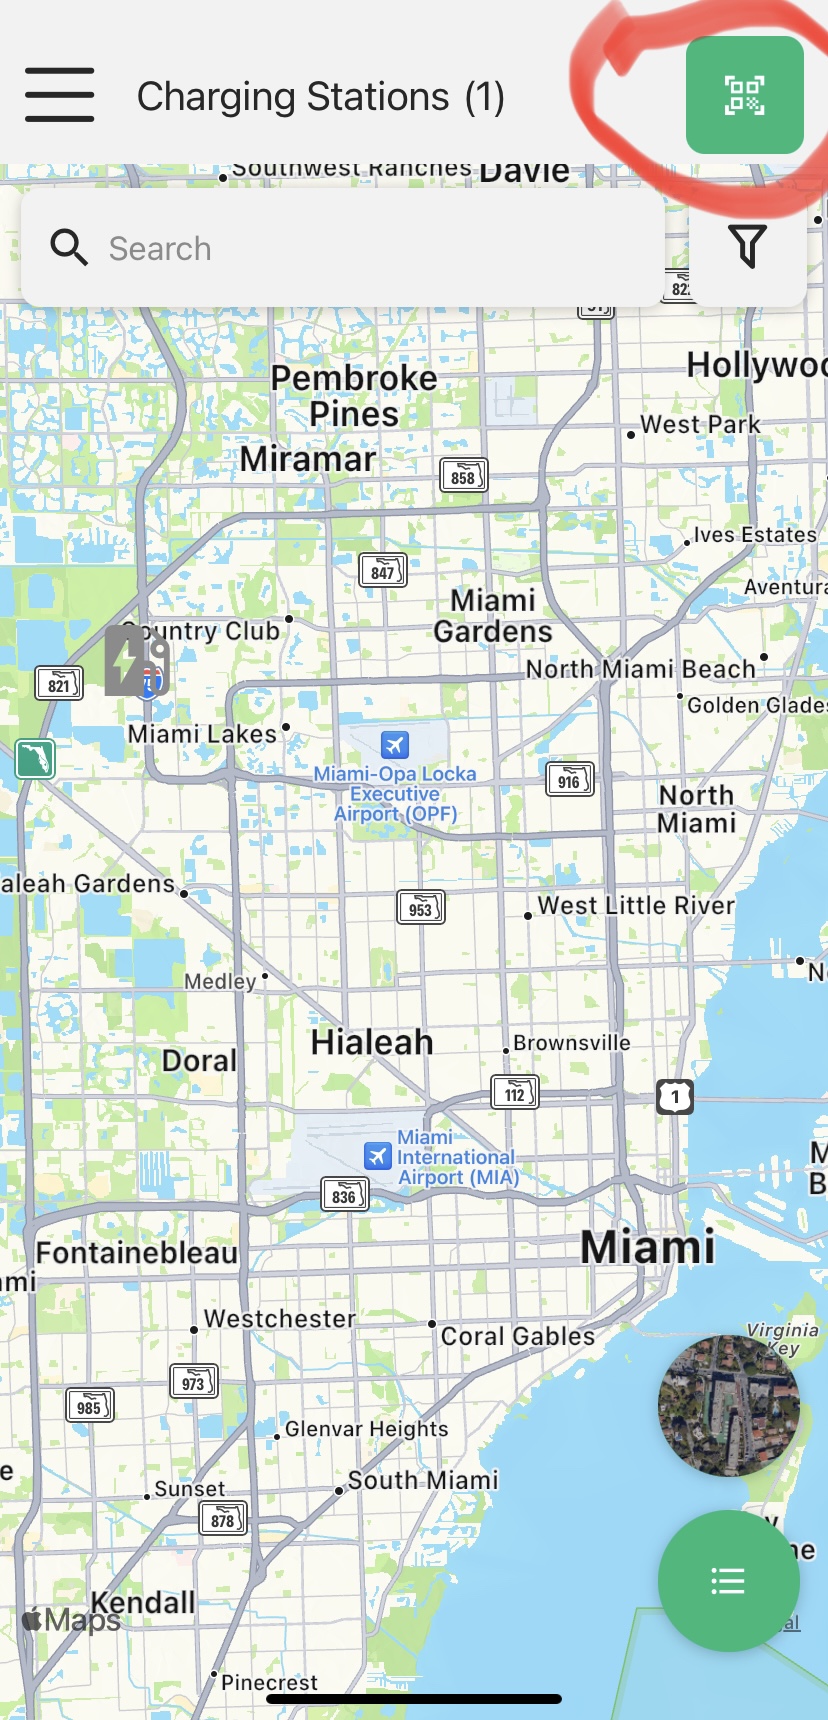
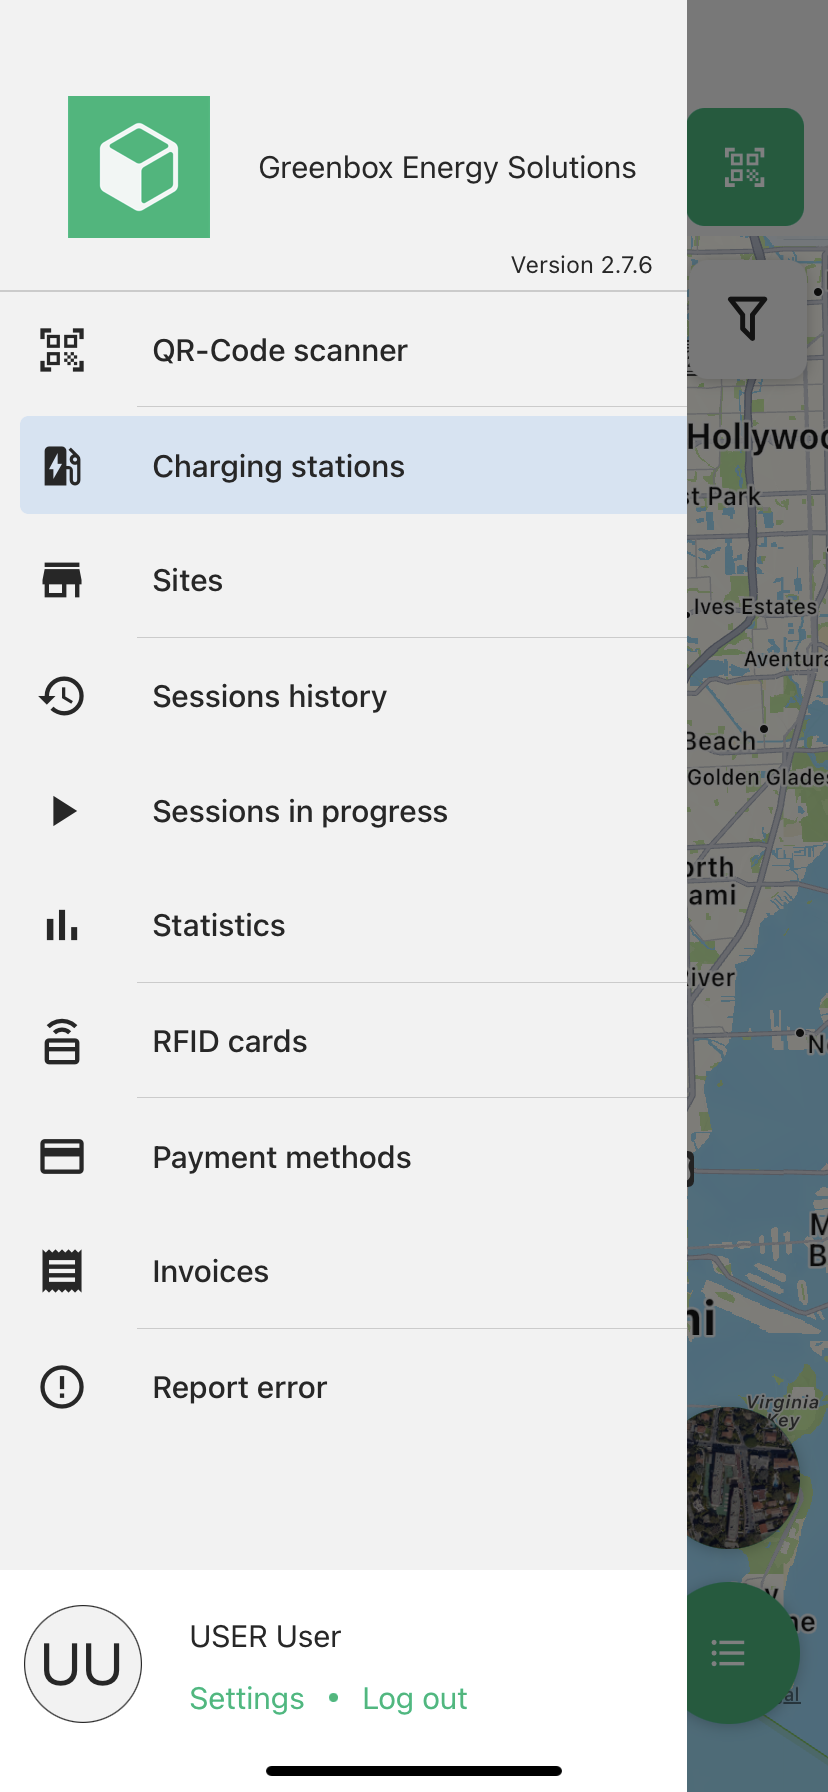
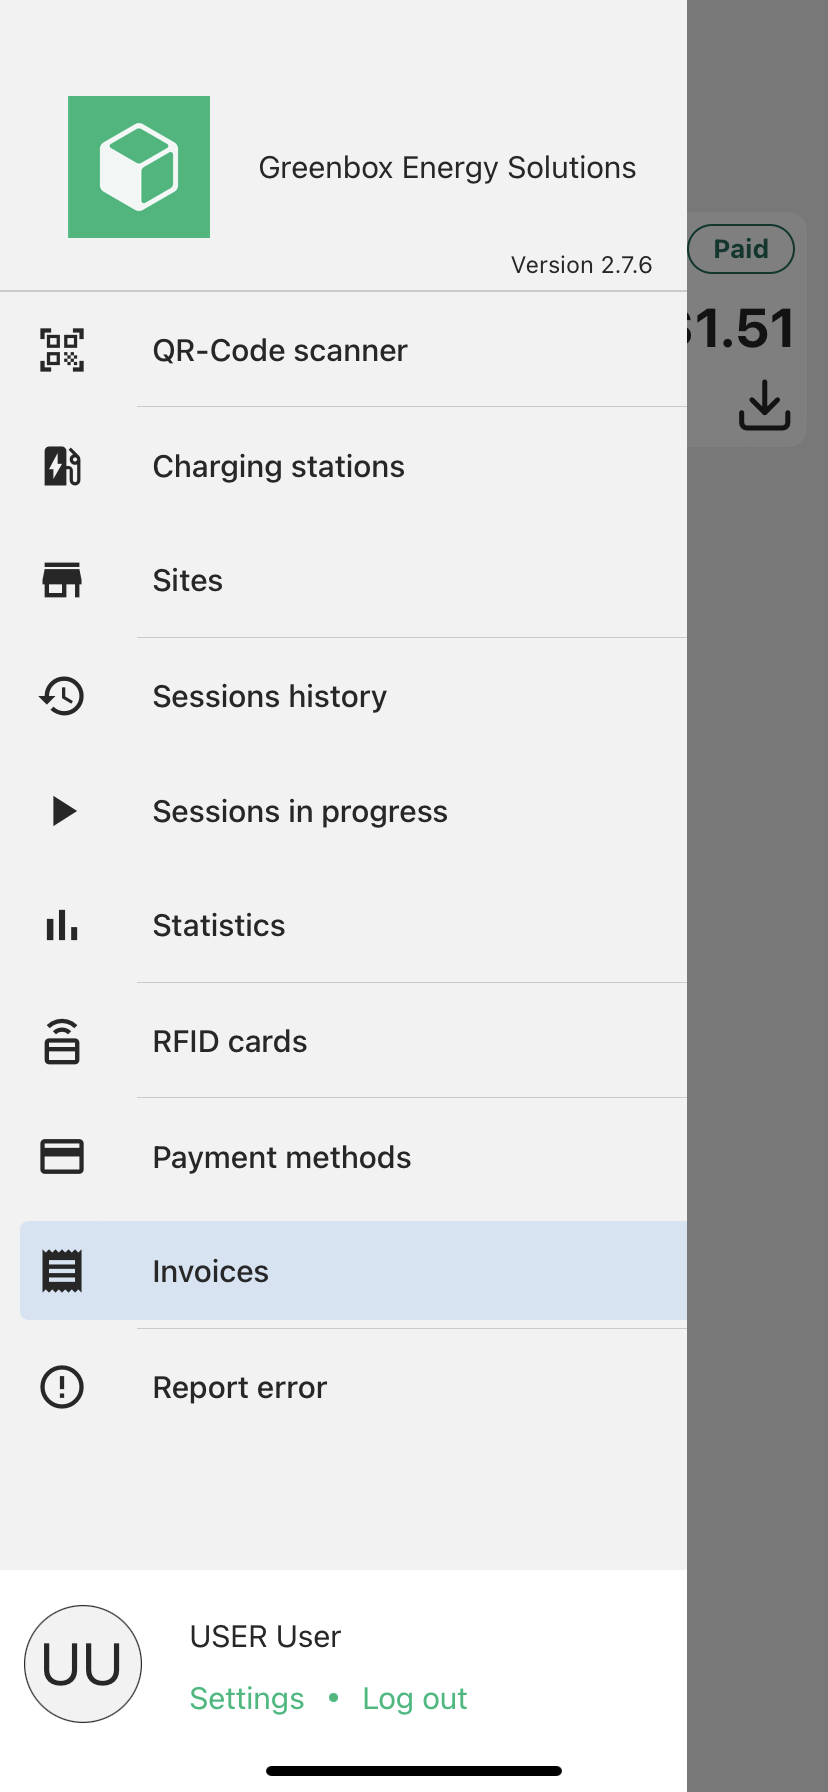
Another option is to find the charging station from the list of charging stations found on the main menu of the app. Click on "Charging stations" and then on the bottom-right icon for the list. Once you are on the list section, compare the name printed on the charging station with the name/numbers of the charging stations in the app. Find and select the charging station you want to use.
6
Once you have selected the correct charging station on the app, the available connector(s) will be on display.
7
Apart from the available connectors at the selected charging stations, the display shows the following units:
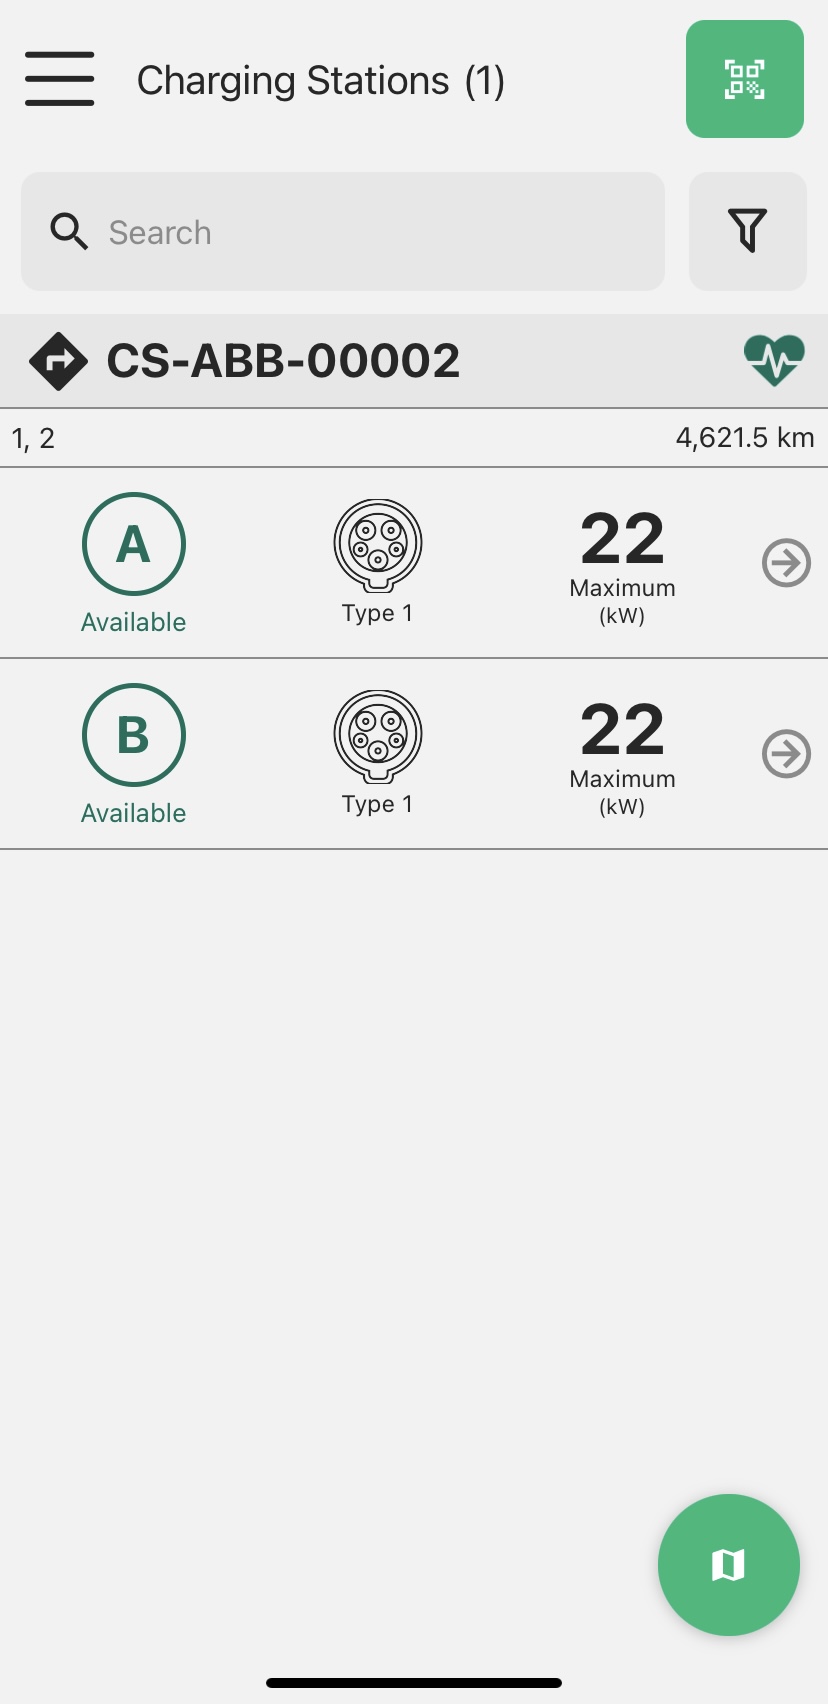
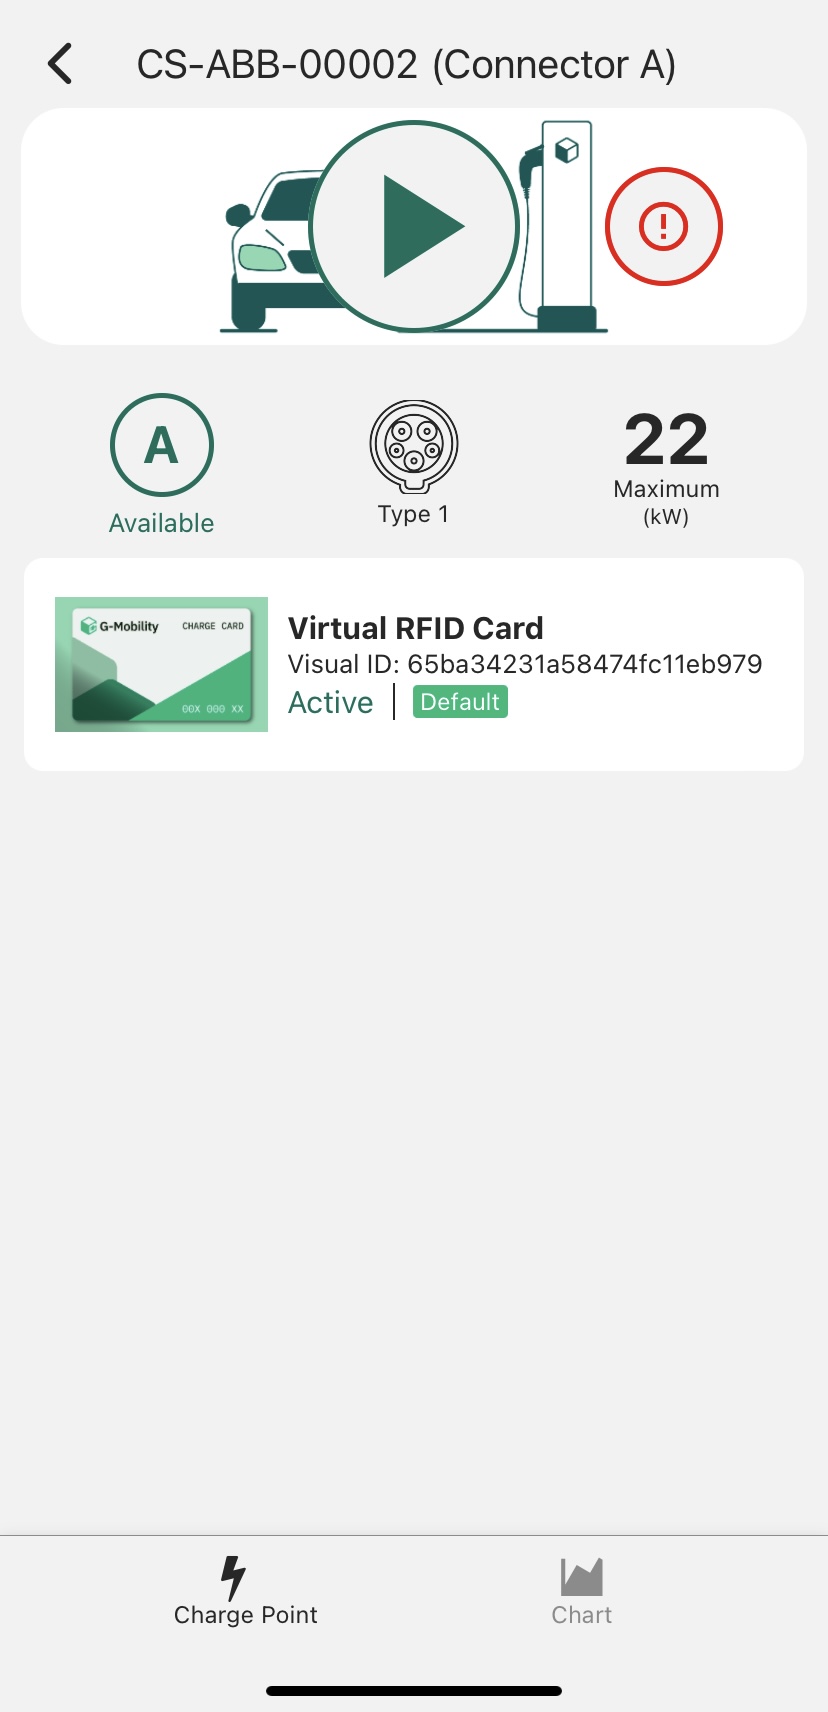
Letters “A” or “B” for connector names
The type of charger
Maximum kW capacity
8
Once selected, a display of the connector appears. To start charging, press the “Play” button.
9
When the “START TRANSACTION” pop-up window appears, select “YES” to begin charging your car.
10
A confirmation appears “Request has been accepted” and your car begins charging.
11
On your charging display, you can see the following units:
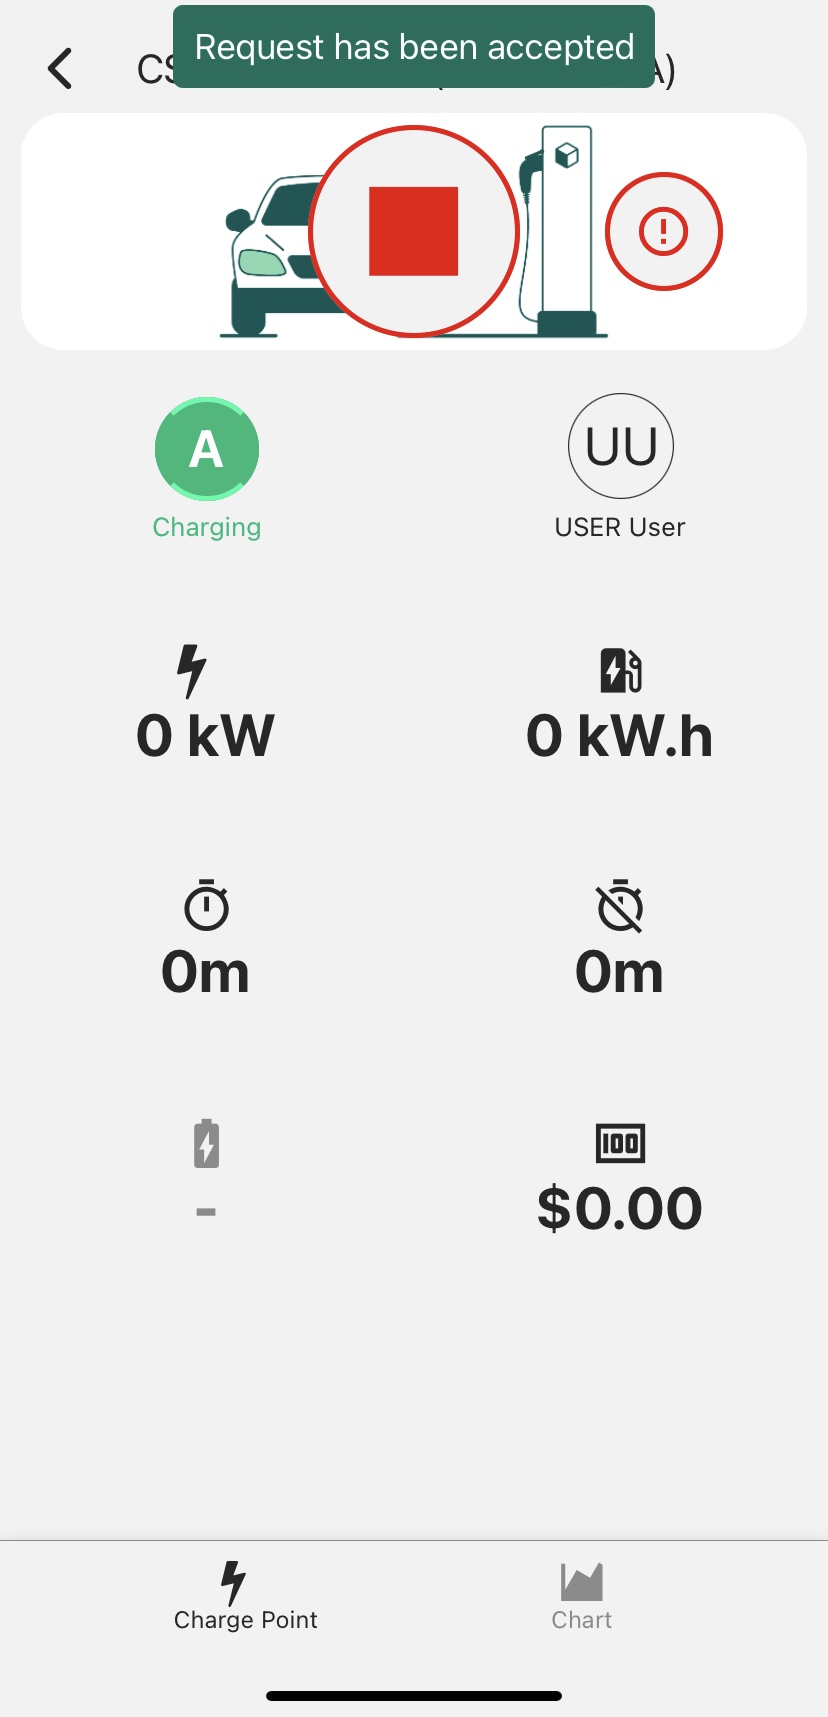
the output speed of the charger in kW
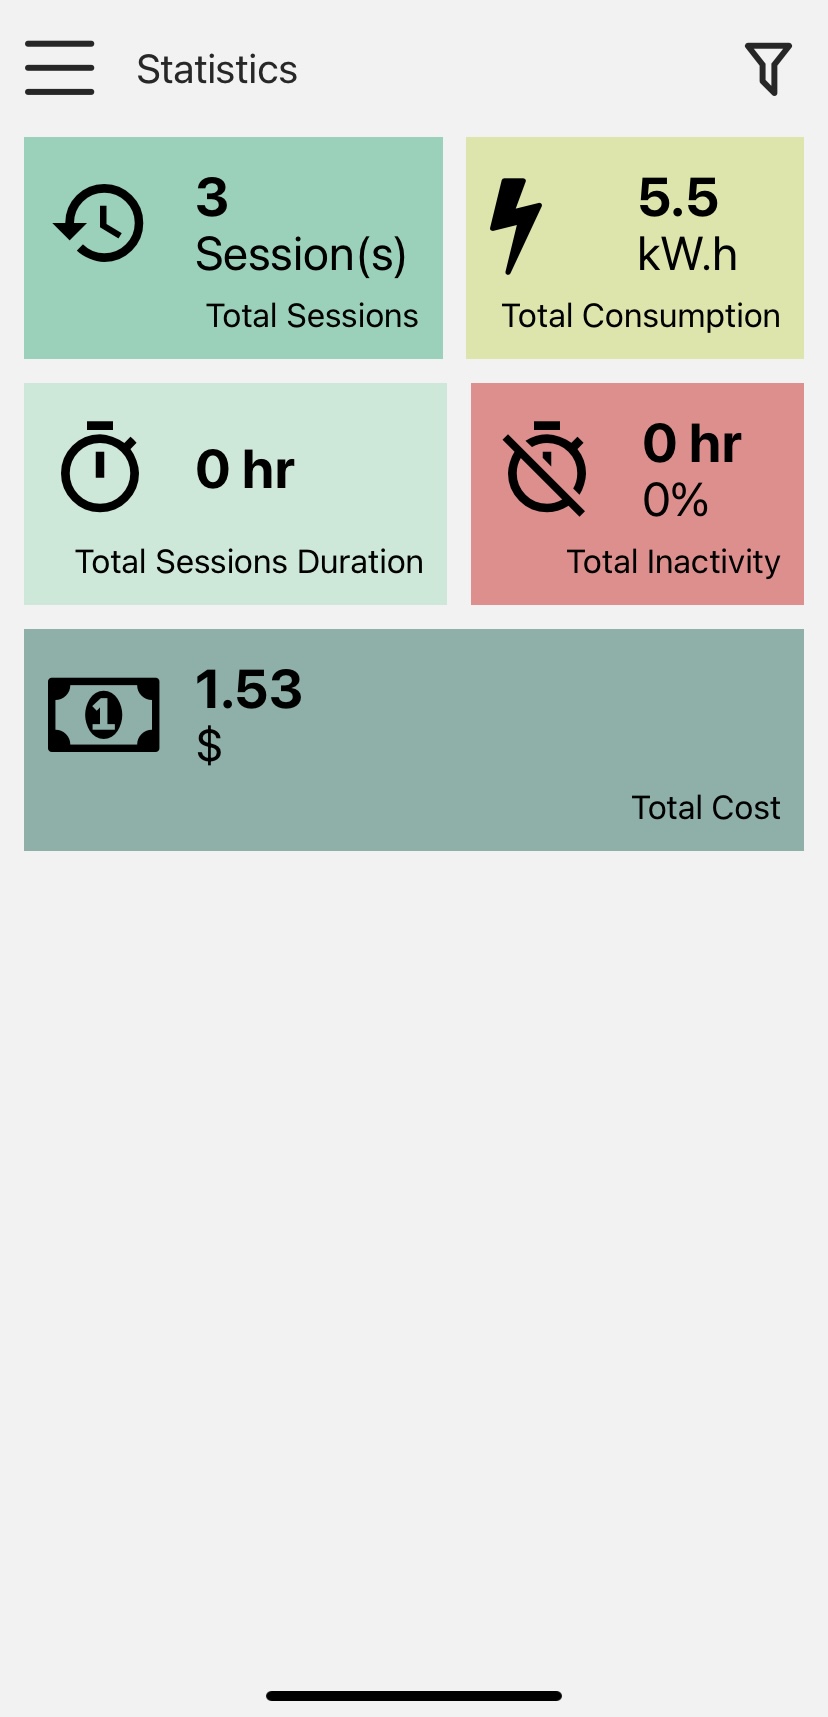
number of kWh that have been charged to your vehicle
the duration of charging
the duration of time when the charging is inactive (this may indicate that you have reached optimal charging)
the percentage charged
the cost of charging thus far
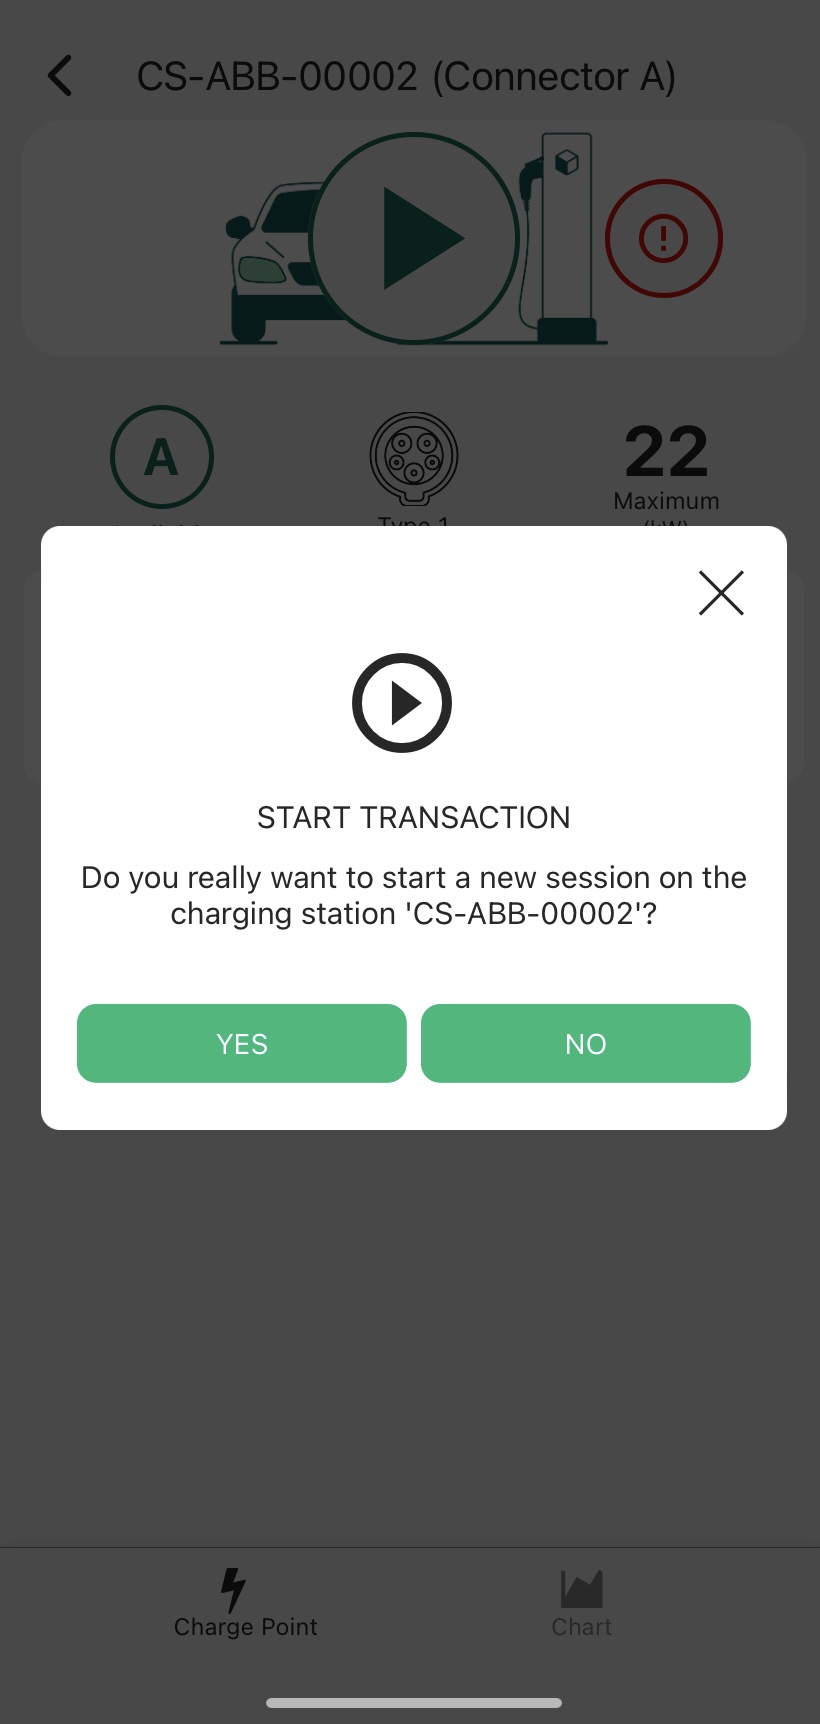
*note: you need to leave your car charging for at least 2 minutes and to gain at least 0.5kW of charging power for a valid charging session.
12
To report an error while charging, tap the exclamation point next to the “Play” button. It will take you to a sign-up form where you can describe the issue and enter your contact information. Someone from our team will be in touch with you. For real-time assistance, you can contact the hotline Tollfree at (888) 674-7391.
13
To stop the session, tap the “Stop” button, the pop-up “STOP TRANSACTION” appears. Select “YES”. Your connector will now unlock. Unplug the connector from your vehicle and place it back on the cable-holder of the charging station.
14
As soon as you have stopped the session, a payment will be drafted to your account. You can view drafted payments at “Sessions history” on the main menu.
15
At “Invoices” you can see a list of the previous month’s charging sessions and whether they have been drafted or paid. Your payments are automatically drafted upon stopping a session, but they will be charged to your linked credit/debit card at the first of each month. At the first of the month your card will be charged, and you will receive one invoice with all your drafted monthly sessions. Once processed, the session becomes a “Paid” session. You can view and download paid invoices. You will also receive an automatic invoice as an email.
16
Your invoices include the information from previously drafted sessions with details about payment, date, time, and kWh charged.
App Features
Report Error
For reporting an error, you can tab the “Report error” button on the main menu. There, you will be directed to a contact form in which you can describe a problem with the app or any of the charging stations.
After submitting the form, a person from the team will be in touch with you as soon as possible. For more immediate assistance call our support hotline Tollfree at (888) 674-7391.
App Features
Statistics
Access information about your history such as total sessions, total consumption, total sessions duration, total inactivity, and total cost spent.